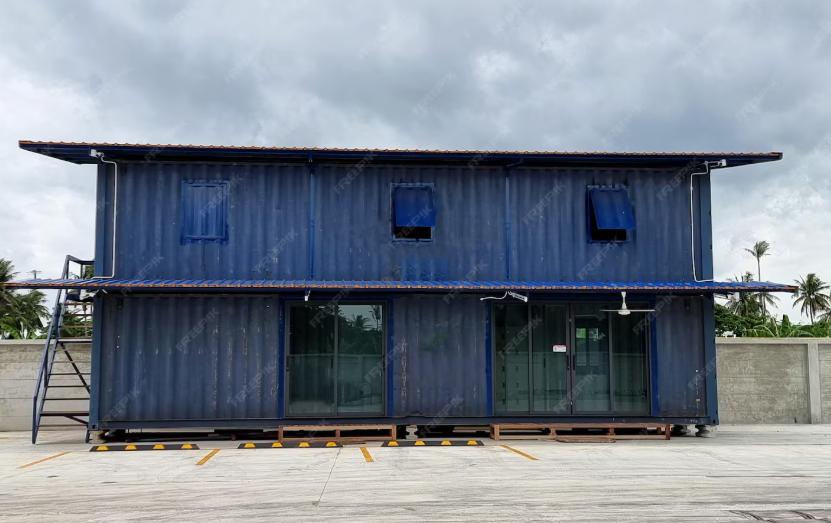
“Waterproof” is a result someone hopes to get. It still leaves the rainwater route unanswered. The project needs a roof outlet, a joint detail between units and a named point where water leaves the site. Gaps appear when the container package ends at the foundation and the civil package begins there. Put both drawings in the same review before approving the layout.
Follow water across the roof plan
Start at the high edge and trace the water to the outlet and landing point. Mark doors and walking paths on that sheet. A downpipe across an entrance remains a layout problem, even when the roof detail is sound.
Connected units change the route. An edge that drains freely on one module may meet another roof or make a narrow valley. Draw the joint separately. Name who supplies it and who checks it. Follow the line to the site plan’s discharge point. If the drawings stop in different places, the interface remains open.
Write the answer for each interface on the drawing. Mark the roof low point and outlet. Name the supplier and checker for a shared edge or valley. At ground level, mark the discharge point and the person carrying water away.
Use this as a coordination aid only. The selected model drawing and the site drainage plan remain the design documents.
Confirm what the selected model includes
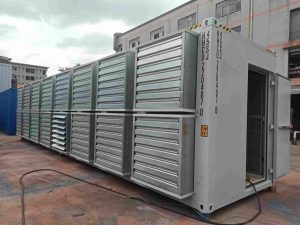
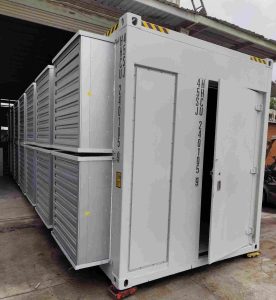
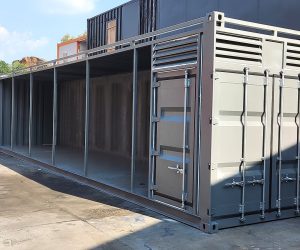
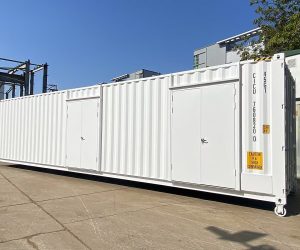
The ACTBOXES source material lists hot-galvanized plate, full-weld leak-proof treatment, water-sink seam treatment and a silicone anti-leak strip under its expandable-house section. Use those details when discussing that product family. They do not confirm the same assembly on a construction-site office container. Ask for the selected model’s roof detail before calling any of them included. When specifying site offices, start with the ACTBOXES office container range.
Several sealing treatments appear in the brochure, but their positions are not shown on every roof layout. Ask for the selected model’s joint-and-outlet detail. The outlet also needs space for cleaning after installation. A factory can inspect its own unit, not a joint the site crew creates later between modules.
Keep later openings on the same drawing
Windows and doors usually appear early. Cable and plumbing entries may wait until equipment is chosen. If an opening moves after the container drawing is issued, record the change and name the installer who seals it. Otherwise the approved drawing and finished wall disagree. Leave the seal reachable for a later check when the equipment layout permits it.
The source material does not set one detail for every wall, roof or service penetration. Use the selected assembly and the installation requirements for the actual detail.
Follow the outlet past the foundation
A roof outlet may be doing its job while the ground beside the unit remains wet. An exposed patch of soil below the downpipe can become muddy without any roof defect. So can a strip of paving laid with the fall toward the frame. If the water sits there long after the rain, soil drainage may also be part of the problem.
Container supply and civil works may be separate contracts. Mark each scope endpoint on the drawing. Some quotations stop at the rainwater outlet. The buried pipe or surface channel that takes water beyond the foundation then belongs to another work package. Label that gap on the site plan before comparing prices.
With one container on a drawing, every outlet looks reachable. A neighbouring cabin and a raised walkway can change that. The downpipe may still fit against the wall, yet leave too little space to clear a blockage or remove a fitting. What matters here is working room around the outlet, not just whether the pipe fits.
Make the handover check useful
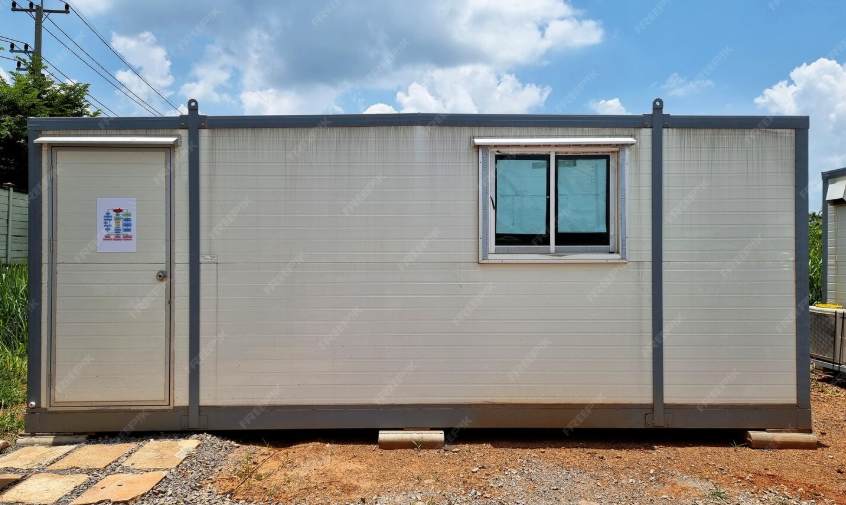
A damp patch can have several causes, and handover is a poor time for guessing. Water escaping near a roof joint and water landing on poorly graded ground may leave similar marks below the unit. Record the outlet and the wet area before any repair begins. If a controlled water test is used, the handover note should say which roof sections and joints were actually tested; concealed joints left untouched have not been checked.
The outlet may discharge onto a footing or send water across an entrance. It may also feed a storm drain blocked by construction silt. Those conditions sit beyond the roof membrane. A photograph of the outlet and affected ground connection tells the repair crew more than a handover note marked simply ‘roof leak’.
Where the drainage quotation begins and ends
A row of connected site offices is different from a single cabin with a clear roof edge. The joint between roofs may leave little room for a conventional gutter, particularly near supports or service entries. That junction needs its own detail on the RFQ drawing. Treat the site channel and stormwater connection as separate priced items rather than assuming they are part of the roof package. The expandable container house range is a separate product type; its roof drainage details are not a substitute for the actual office-module drawing.
Add measurable RFQ fields: outlet location and height, discharge direction, connection size where relevant, cleaning access and the party responsible for temporary protection. Ask bidders to state their finished-ground assumption. Price channels, pipes and stormwater connections separately. An allowance for a drain is not necessarily a price for getting that water off the site.
What the installation record needs to show
Keep the roof detail, coordinated layout, scope boundary and handover method with the purchase documents. Moving a module after approval can put a new valley between roofs or leave an outlet trapped where nobody can clean it.
For several modules, keep one responsibility table with the drawing revision. List each roof junction, outlet, ground connection and inspection owner. Update it when a unit moves or another module is added. Maintenance staff can then see where to start when a later leak appears and where the container package ends.
Put outlet locations, cleaning access, the agreed inspection frequency and the site-connection contact in the maintenance handover. The owner should set the frequency from the site and its exposure. A generic container description cannot set it reliably.
The outlet sketch belongs with the maintenance handover. Note any pipe or joint that ends up behind a neighbouring cabin or raised walkway, and keep the specified seal or connector details beside it. A blocked outlet should not require a search through the original purchasing emails before anyone can reach it.
On a temporary site, there is one last decision to make: will the stormwater connection remain after the containers are removed, or must it be taken out during demobilisation? That belongs in the work scope, not in an assumption made on moving day.
Drainage FAQs for Site Containers
Are gutters necessary on every construction site container?
Not necessarily. Some stand-alone modules already have a roof outlet. A connected row can need added guttering at the shared roof edges. Use the selected roof drawing to see where the water goes before ordering more components.
Why does water collect at a container doorway after rain?
Water beside a doorway may have crossed the access path from higher ground. Or it may have arrived directly from a downpipe beside the entrance. Those need different remedies: a channel can intercept runoff across paving, but it will not fix a pipe emptying by the threshold. The finished ground fall needs checking before either change is made.
Should a roof downpipe be connected to a French drain?
Usually not without a separate drainage design. A French drain deals with water in the surrounding soil; a roof pipe sends collected rainfall to one point. If the two are connected, the buried drain needs a suitable outlet and enough capacity for the extra roof runoff. Otherwise the ground beside the container may stay wet even though the pipe is hidden.
Why might roof leaks begin after container units are joined?
The connection may create a roof valley or change the direction water travels. Flashings, joint seals and any shared outlet are completed as part of the installed arrangement, so the finished junction needs to be checked rather than relying only on the individual unit’s factory inspection.
Who should provide the final stormwater connection?
Responsibility can change somewhere between the factory roof outlet and the site’s final drain. The container installer may stop at the downpipe while the civil contractor supplies the channel and underground connection. The short section between those scopes should appear on the same quotation drawing, with one contractor named to provide it. Drawings and installation questions can be sent through the ACTBOXES contact page.